To construct a lightweight backpacking shelter, begin by selecting 1.6oz coated ripstop nylon fabric for tear resistance. Trim fabric to specified dimensions, leaving some sections rectangular for later tapering. Stitch using a hemming technique, attaching loops evenly for durability. Strengthen stress points with patches and include a detachable beak for protection. Set up the shelter using trekking poles, guy lines, and secure with a taut line hitch. Mastering these steps will guarantee a durable and secure shelter for your outdoor adventures.
Key Takeaways
- Choose 1.6oz coated ripstop nylon for lightweight durability.
- Incorporate stake loops and flat-felled seams for stability.
- Cut and taper fabric as directed in instructions.
- Add reinforcement patches at stress points for strength.
- Pitch shelter with trekking poles and secure with guy lines.
Selecting the Right Fabric
When constructing a lightweight backpacking shelter, choosing the appropriate fabric is crucial for guaranteeing durability and functionality on the trail. Opt for a lightweight and durable material like 1.6oz coated ripstop nylon to strike a balance between weight and strength. This fabric is ideal for backpacking shelters due to its tear-resistant properties, making it suitable for outdoor conditions.
Make sure the fabric width is at least 58 inches to provide adequate coverage for your shelter. If you have sewing experience, consider using flat-felled seams for added durability. Additionally, incorporating stake loops into the design will help secure your shelter during windy conditions.
When measuring and cutting the fabric, be precise to ensure all pieces fit together seamlessly. Keep in mind that selecting the right fabric is the foundation of your lightweight backpacking shelter, so choose wisely to create a reliable and durable shelter for your outdoor adventures.
Cutting and Preparing the Material
To accurately prepare the material for constructing your lightweight backpacking shelter, measure and cut the fabric pieces according to the specified dimensions provided in the shelter design. Make sure that certain sections are left rectangular for later tapering, while angling other sections as directed in the tent's instructions.
Pay close attention to cutting tapered angles for the front panels to achieve the desired shape for your shelter. It's a good idea to familiarize yourself with basic sewing skills needed for creating flat-felled seams in the shelter construction process.
When cutting the fabric pieces, be sure to follow the cutting instructions meticulously to accurately prepare the material for building your shelter. Remember to pay special attention to the front edge and back corners when cutting the fabric pieces to ensure they align correctly during assembly.
Sewing Hems and Attaching Loops
After precisely cutting and preparing the fabric pieces for your lightweight backpacking shelter, the next step involves sewing hems to add durability and prevent fraying, while also attaching loops strategically for stability and structural integrity.
- Hemming Technique: To sew the second, make one, double fold along the edge of the fabric to encase the raw edge fully. This method guarantees a clean finish and adds strength to the shelter's edges.
- Loop Placement: Attach loops at stress points like the front corners to spread the stress evenly. Loops angled at the corners help pull the shelter outward, maintaining its shape under tension.
- Even Distribution: Make sure to space the loops evenly along the edge of the shelter. Properly distributed loops contribute to the overall structural integrity by spreading the stress to either side, making a good shelter setup.
Adding Reinforcement Patches and Beak
Consider reinforcing the crucial-stress areas of your lightweight backpacking shelter with durable patches and adding a detachable beak for increased protection from the elements. Reinforcement patches play an essential role in strengthening the main body of the shelter, ensuring it can withstand the rigors of the outdoors. Make sure to place these patches at potential weak points to prevent tears and damage, especially in rough terrain.
Additionally, incorporating a detachable beak at the center of the front provides added defense against rain and wind. This versatile feature allows you to adapt to varying weather conditions, enhancing your overall comfort during your backpacking adventures. Using materials like a space blanket can make the beak lightweight and easy to make, adding minimal weight to your pack while offering significant benefits.
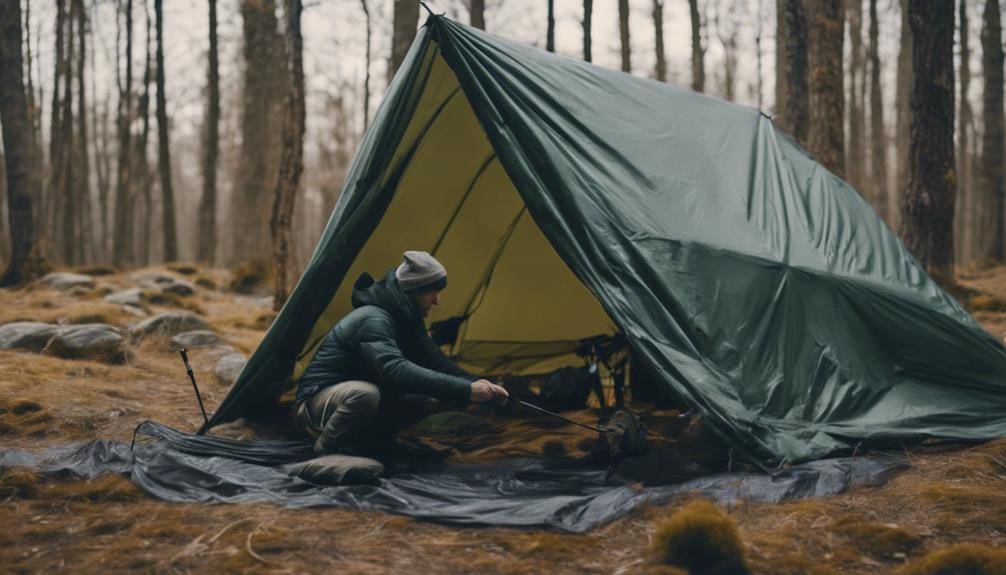
Pitching and Securing the Shelter
When pitching and securing your lightweight backpacking shelter, utilize trekking poles for essential support and stability. Here are some practical steps to guarantee a secure setup:
- Use Guy Lines: Secure your tent using guy lines to provide additional tension and enhance wind resistance.
- Make Adjustments: Adjust the angle of the guy lines at the corners of the shelter to distribute tension evenly and prevent stress points.
- Explore Good Options Available: Consider different anchoring options available for your guy lines, such as rocks, trees, or stakes, to find the most suitable and secure one for your environment.
- Still Good with One Piece: Opt for a taut line hitch when securing the guy lines. This knot allows for easy adjustments and ensures a tight grip on the anchor point, keeping your shelter taut and secure.
Frequently Asked Questions
Is 4 Lbs Heavy for a Backpacking Tent?
Four pounds might feel a bit weighty for a backpacking tent, especially if you're aiming for ultralight gear. Consider exploring lighter options with modern materials to trim weight and enhance your backpacking experience.
How Much Does an Ultralight Shelter Weigh?
When looking for an ultralight shelter, focus on materials like Cuben fiber and silnylon for a lightweight design. These options can range from 10 ounces to 3 pounds, offering durability, weather resistance, and easy setup for efficient packing on your backpacking adventures.
How Much Should an Ultralight Backpacking Tent Weigh?
An ultralight backpacking tent should weigh around 2 pounds or less, offering a balance of weight savings and durability. Materials like silnylon and carbon fiber are commonly used to reduce weight without compromising functionality or weather resistance.
Can I Use Tyvek as a Tarp?
Yes, you can utilize Tyvek as a tarp. Its durability and waterproofing properties make it appropriate for shelter setups. Consider alternatives like silnylon, focus on weight savings, and guarantee proper sealing for peak performance. Explore DIY tarp options for customization.
Conclusion
Now that you have completed the construction of your lightweight backpacking shelter, you're ready to hit the trails with confidence.
Remember to pack it carefully, set it up securely, and enjoy the comfort and protection it provides on your outdoor adventures.
With the right materials and a little bit of DIY know-how, you can create a shelter that's durable, functional, and perfect for your next backpacking trip.
Happy trails!